Key takeaways
- A snow and ice palette has almost no texture variation, so the shape of the build has to carry everything the materials cannot.
- Packed ice, blue ice and regular ice read as three different blues at distance, which is the only colour range the palette gives you for free.
- One dark contrast material – spruce, deepslate or blackstone – is what stops a white build dissolving into the terrain behind it.
Winter builds fail more often than any other theme, and the reason is counter-intuitive. It is not that the palette is too small. It is that snow and ice are the flattest textures in the game, so a build made of them has no surface detail at all, and every trick that relies on texture noise to break up a wall stops working.
With the 26.4 snapshots adding Ice Crystals, Icicles and the ability to place snow on packed ice, the cold palette just got its first new material in years. This is a working guide to building with it – what each block actually contributes, where the palette breaks, and the structural choices that make a white build readable.
What each block in the palette contributes
There are more cold materials than people use. Sorted by what they do rather than by where they come from:
- Snow block – pure white, completely flat, slightly off-white rather than pure. Your base mass material.
- Snow layers – the only way to get a non-cubic snow surface. Eight heights, and the partial heights are what make a roof look snowed on rather than snow-made.
- Powder snow – visually near-identical to a snow layer but non-solid. Useful as a hazard, almost useless as a surface, and worth knowing about because it looks the same from above.
- Ice – translucent, light blue, melts near light. Only viable where you control the lighting.
- Packed ice – opaque, mid blue, does not melt. The workhorse.
- Blue ice – opaque, saturated blue, does not melt. Expensive and best used sparingly as an accent.
- Calcite – near-white stone with faint grain. The one cold-adjacent block with any texture, and now a bulk material in the new Ice Caves biome.
- Ice Crystal – new in 26.4, emits light, places in any direction. A hideable light source in a palette that previously had none.
- Icicle – new in 26.4, base, middle and tip variants, placeable in any direction, but breaks near light sources.
The last entry is the constraint that will shape your build. Icicles cannot sit in a lit room, so decorative icicle work has to be outdoors or in deliberately unlit space. That pushes them towards eaves, overhangs and cavern mouths rather than interiors, which is actually where they look best anyway.
The contrast problem
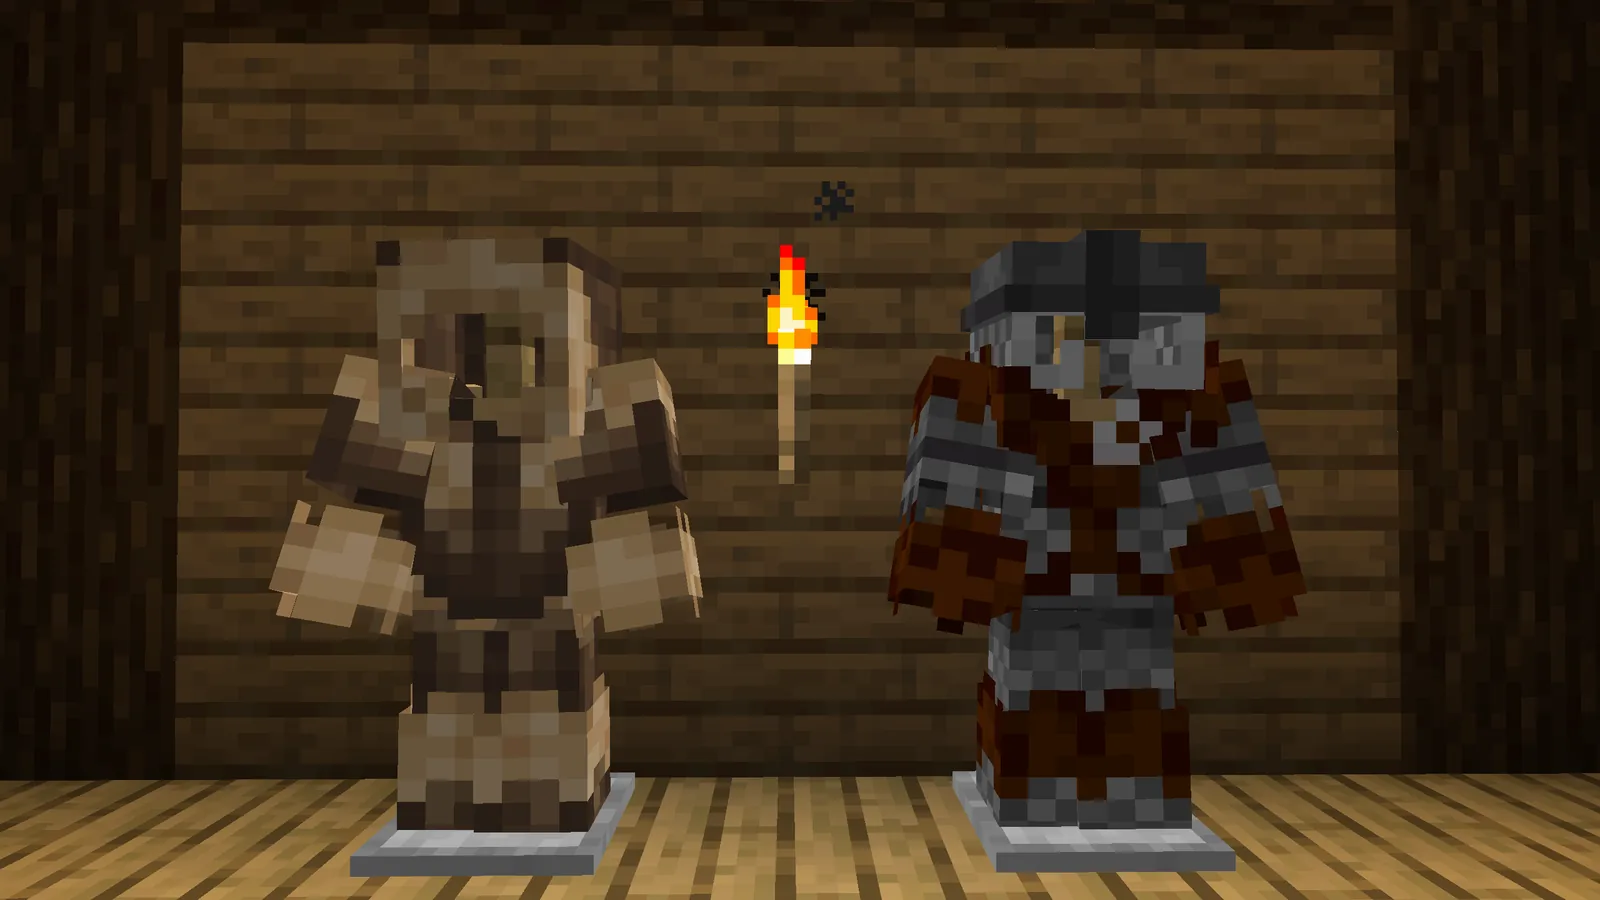
Here is the failure mode. You build an all-white structure in a snowy biome, step back, and the silhouette disappears. The build and the ground are the same value, so the eye has nothing to catch. In screenshots this reads as a blurry white mass.
The fix is one dark material, used structurally rather than decoratively. Three work well:
- Spruce – warm dark brown, native to the biome, and the most forgiving choice because the surrounding trees already carry that colour.
- Deepslate – cool dark grey, reads as stone foundation rather than timber, best for anything that should look permanent.
- Blackstone – near-black with purple undertone, the strongest contrast available and the easiest to overuse.
Use it on the load-bearing lines: corner posts, window frames, floor joists, roof edges, door surrounds. Those are the lines that define shape, and the eye reads shape from the dark lines, not from the white panels between them. Our block palette guide goes through the ratio question in more detail, and the short version for a cold build is roughly four parts light to one part dark.
Snow layers are the detailing tool
Everything that makes a winter build look lived-in comes from snow layers rather than snow blocks. Specific uses:
Snowed-on roofs. Lay one or two layers on top of a stair roof. The partial height means the stair shape stays visible underneath, which reads as snow accumulation. A solid snow block roof reads as a snow building, which is a different and much less interesting look.
Terrain blending. Three or four layers at the base of a wall, tapering to one, makes a build look sunk into a drift rather than placed on a flat plane. This is the single highest-value five minutes you can spend on a cold build. Our terraforming guide covers the general principle.
Interior accumulation. A single layer on a windowsill or an abandoned floor tells a story. Abandoned cold builds are a strong theme and snow layers are most of how you sell them – see our decay techniques for the rest.
Where the palette breaks
Two places, reliably.
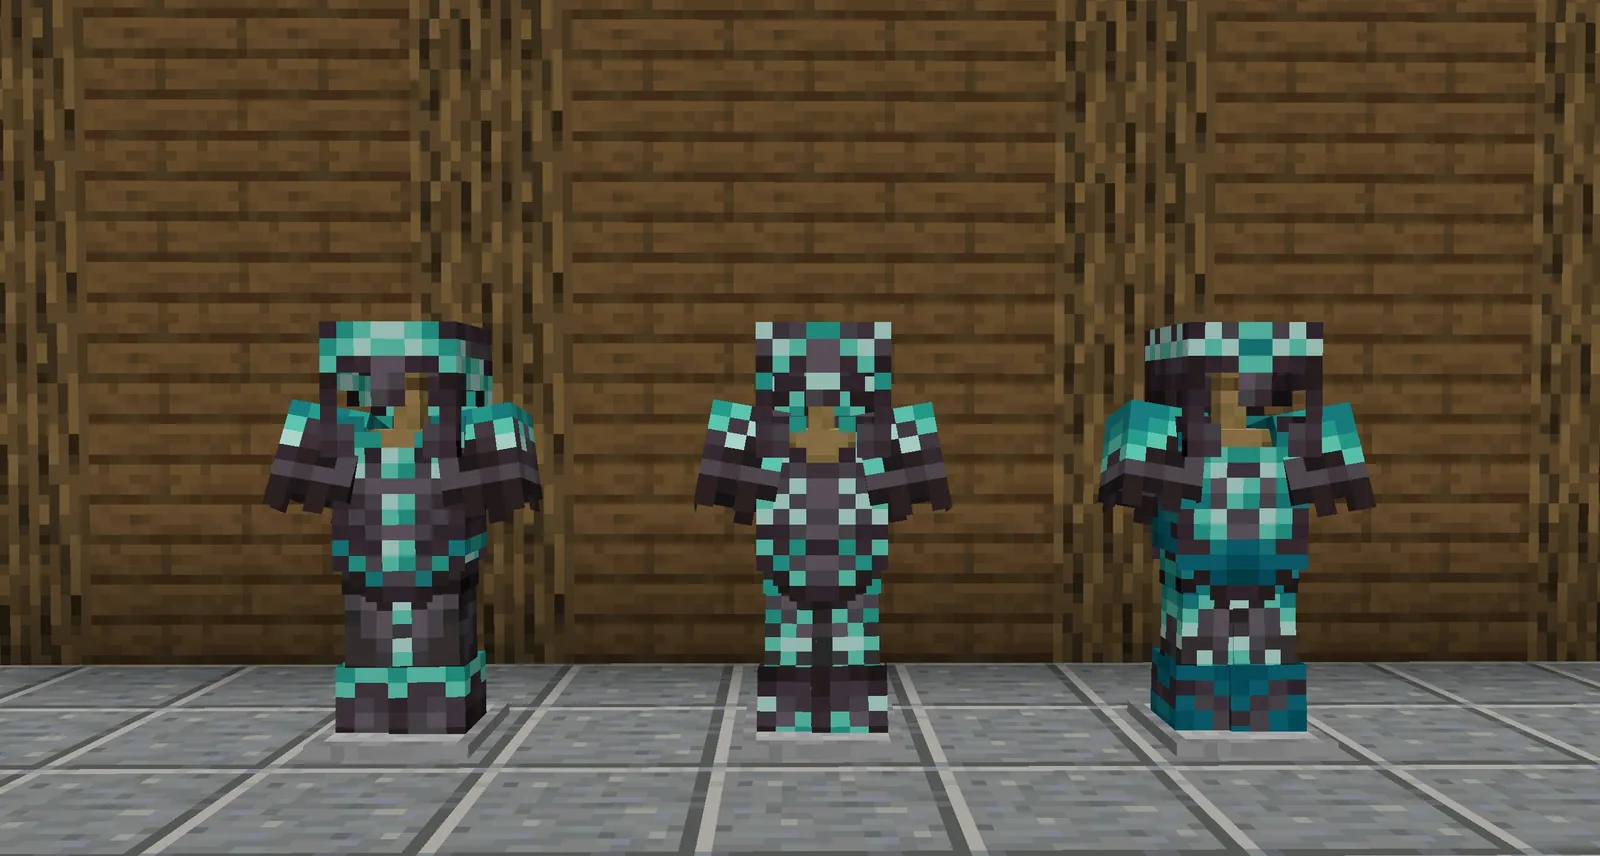
Large flat walls. A twenty-block run of snow block has nothing on it. No grain, no variation, no edges. There is no snow equivalent of the stone brick family to break it up. The answer is to not have large flat walls in a cold build – use depth instead, with recessed panels, projecting bays and an overhanging upper floor. Our notes on scale and emptiness cover why large flat surfaces fail generally, and it applies twice as hard here.
Interior lighting. Ice melts near light and Icicles break near light, so the two most visually interesting cold blocks are both unusable inside a lit room. Lanterns and torches force you to pick: cold materials or visible light. The Ice Crystal partly solves this because it emits its own light, but it is a rare drop in the new cave biome rather than something you can mass-produce. Until it is craftable, plan interiors around light sources that are hidden in the floor or ceiling, which our interior lighting guide covers.
Three build shapes that work in snow
The steep roof. A roof pitch of 45 degrees or steeper with heavy snow layers on it is the most recognisable winter shape there is, and the pitch is doing real work – it reads as a building designed to shed snow. Our roof shapes guide has the techniques for getting a steep roof that is not just a stair triangle.
The raised floor. Lift the ground floor one or two blocks on a dark stone or spruce base. It gets the white walls off the white ground, which immediately fixes the silhouette problem, and it looks like a sensible response to drifting snow.
The ice cave entrance. With the Ice Caves biome generating under cold surface biomes, a build placed over a cave mouth is now a genuinely useful shape. Icicles work in the unlit entry, packed ice ties the structure to the cavern below, and the dark opening gives you contrast for free.
A practical starting recipe
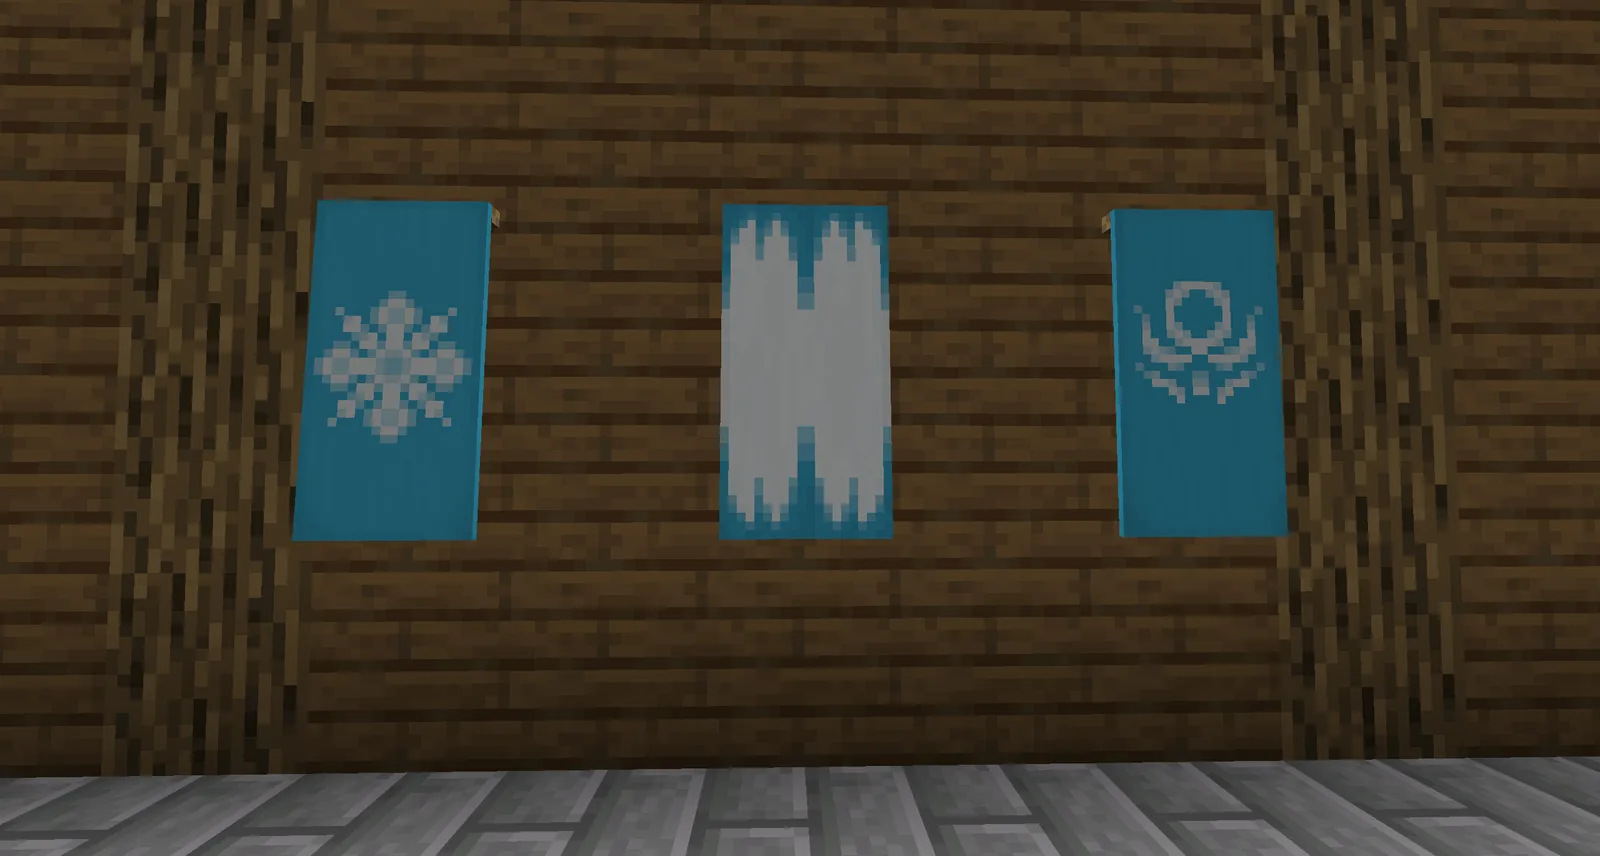
If you want somewhere to start rather than principles: snow block walls, spruce log corner posts and window frames, spruce stair roof with two snow layers on it, packed ice as a floor accent, blue ice on nothing larger than a single decorative panel, three snow layers tapering to one around the whole base, and interior light sunk into the ceiling so the ice survives.
That gets you a readable cold build in under an hour. Everything after that is adding depth to the walls, which is where the time actually goes – and our detail blocks guide covers the small pieces that do that job.
Images: Frostiful project gallery.