Raids are Minecraft’s only scheduled combat encounter, and they are the only reliable route to some of the game’s best items. They are also the fastest way to lose a village you spent hours building, which is why most players trigger their first one by accident and regret it.
How a raid starts
Kill a pillager captain – the one carrying a banner – and you get Bad Omen. Enter a village with that effect active and a raid begins, at a difficulty scaled to the Bad Omen level.
Bad Omen stacks up to level 5 if you kill multiple captains, and a level 5 raid is a serious fight. Drinking milk removes the effect, which is the mechanism for not triggering one by accident.
What you get
- Totem of Undying – one per evoker, and the single most valuable item in the game.
- Hero of the Village – a large trading discount for several minutes.
- Emeralds and loot from the raiders themselves.
The totem is the reason to do this. It prevents death once, automatically, and there is no other source.
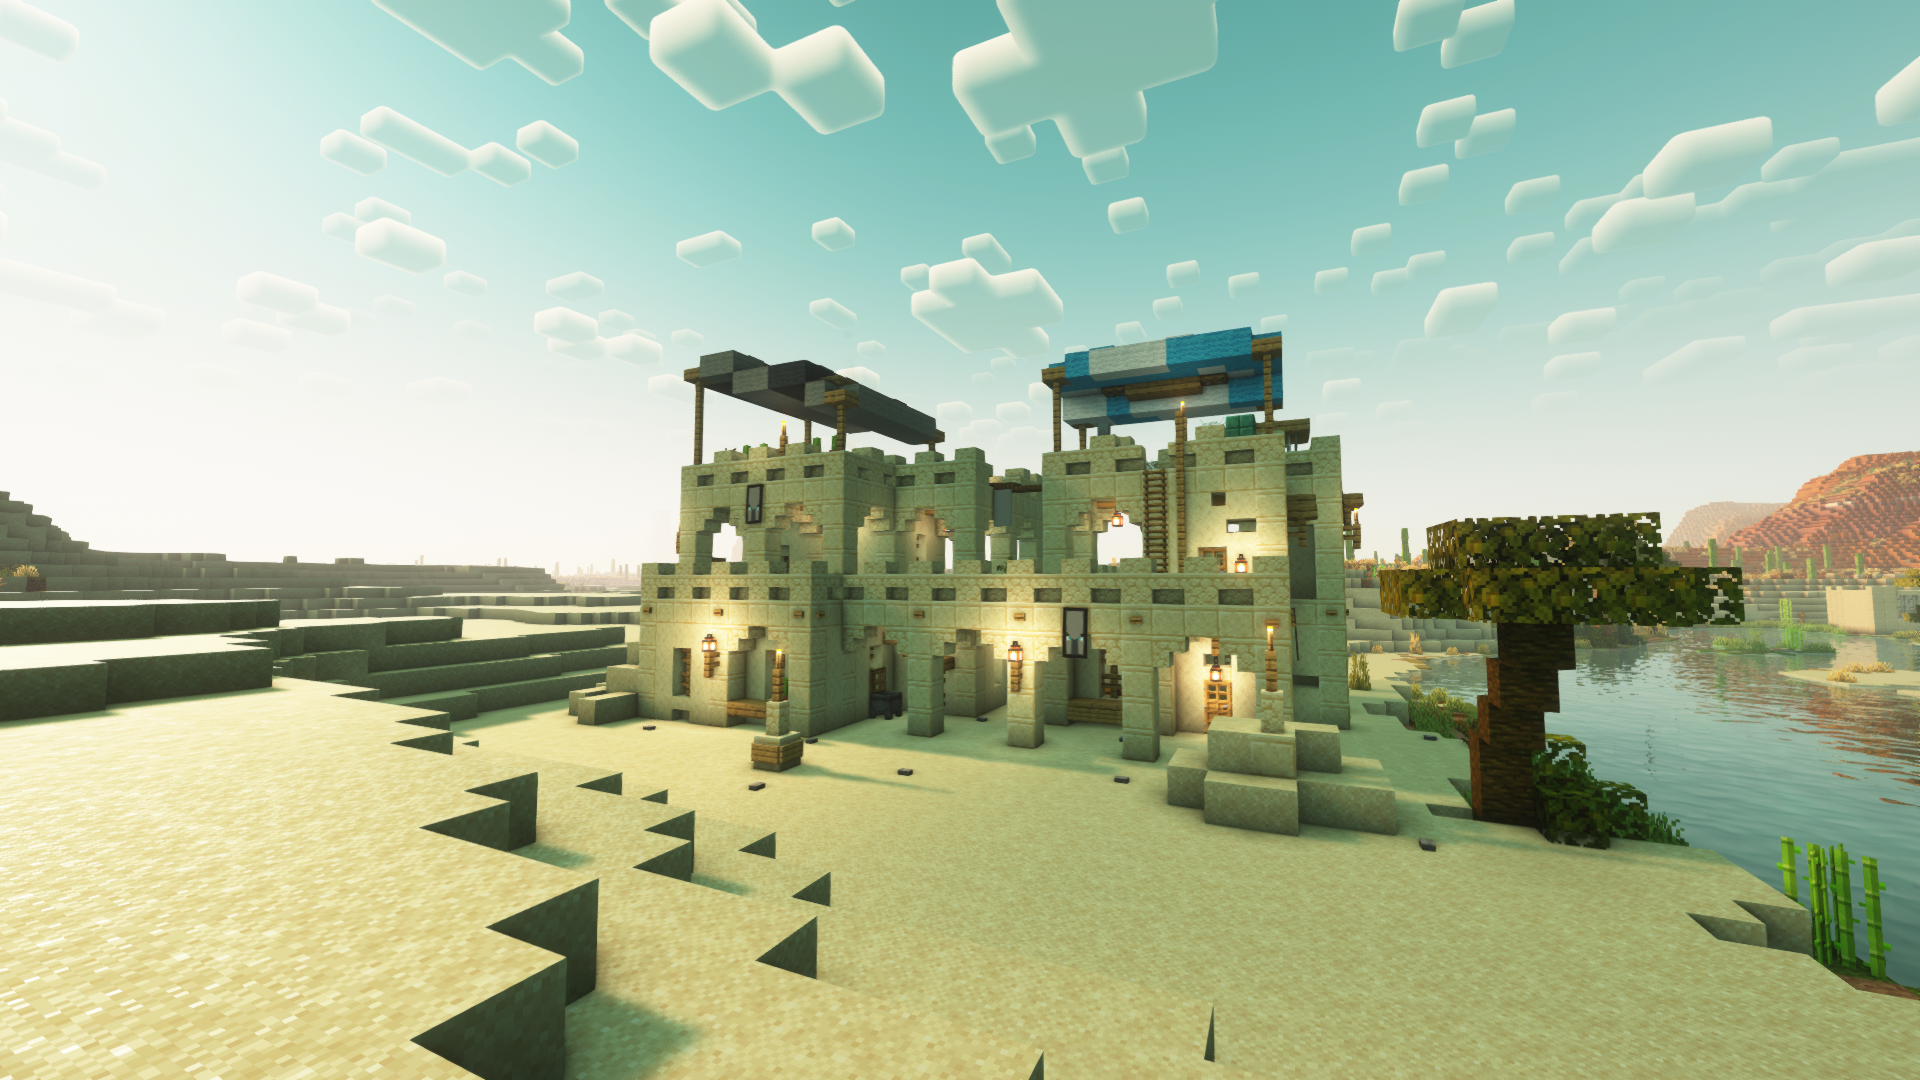
Preparing a village
- Wall the village, or at least the part with the villagers in it.
- Move villagers into a sealed building with beds and workstations.
- Light everything, so raiders are the only hostiles you are fighting.
- Build a raised platform to fight from.
- Check that the village bell is reachable – it marks raiders through walls.
The bell is underused. Ringing it highlights every raider in range through terrain, which turns a confusing fight into a readable one.
The waves
Pillagers, vindicators, evokers, witches and ravagers, in increasing proportions per wave. The dangerous ones are evokers, which summon vexes that pass through walls, and ravagers, which break blocks and hit hard.
Vexes are the reason a walled fight can still go wrong. Nothing stops them.
Combat approach
A raid is a melee fight with a lot of targets, which means attack cooldown discipline matters more than in any other situation. Spamming attacks against six raiders does less damage than timed swings against three.
The mechanics behind that are worth knowing properly, because they are counterintuitive – attack cooldown, reach and why your hits miss is the explanation most players never get.
Equipment
- Shield, always. It stops ravager charges and pillager crossbow bolts.
- A sword with Sweeping Edge for the crowds.
- A bow or crossbow for the ranged phase.
- Splash Slowness or Harming potions, which are unusually effective here.
- A totem, if you already have one.
Slowness potions on a wave of raiders changes the fight more than better armour does. It is the single most effective preparation for a high-level raid.
What goes wrong
- Villagers die, and the village stops being a village.
- Ravagers break through walls you thought were solid.
- A raider spawns outside your prepared area and the raid does not end.
- You lose track of the last raider and wander for ten minutes.
That last one is the most common complaint and is what the bell solves.
Farming raids
Repeatable raid farms exist and produce totems in quantity. They require a specific setup – a contained village, a reliable Bad Omen source, and a killing mechanism – and they are a substantial build.
For most players, running three or four manual raids gets enough totems that the farm is unnecessary.
Pillager outposts
The reliable source of captains. Outposts generate with several pillagers and at least one captain, and they respawn pillagers over time, which makes them a renewable Bad Omen source.
They also have a chest at the top worth checking, though the loot is modest. Whether the trip is worth it depends on what else is nearby, which is the usual calculation – reading loot tiers puts outposts in context against the alternatives.
Hero of the Village
The trading discount after a successful raid is large and time-limited. The efficient pattern is to finish a raid and immediately do the trading you had been putting off – particularly anything expensive from a librarian.
Most players let this expire without using it, which wastes most of the reward.
Difficulty matters
Raid difficulty scales with world difficulty. On Hard, raids include more raiders per wave and ravagers appear earlier. On Easy they are close to trivial and still drop totems, which is worth knowing if you only want the item.
Building a raid arena
The reliable setup is a walled courtyard with the villagers sealed underneath or beside it, a raised walkway for you, and water channels to slow ravagers. Raiders spawn outside the village boundary and path inward, which means the approach is predictable.
- Two-block-high walls stop nothing. Three minimum, with an overhang if you can.
- Water on the approach slows everything except vexes.
- Keep one exit for yourself that raiders cannot use.
- Torches everywhere, so ordinary mobs do not join in.
Bad Omen management
Milk clears it instantly. The practical habit is to carry a bucket of milk any time you are near an outpost, so that killing a captain for the banner does not commit you to a fight you did not plan.
The effect lasts a long time and does not expire while you are doing something else, which is how accidental raids happen hours after the kill.
After the raid
Check the village for damaged buildings, replace any villagers that died, and re-light everything the ravagers broke. A village that has survived a raid is usually missing half its lighting, which produces a second problem overnight.
Images: Towns and Towers project gallery on Modrinth.