A wheat field grows at a rate the game calculates from four things: light, hydration, what is around each plant, and whether your rows are arranged the way the formula wants. Most farms get two of those right and lose half their throughput to the other two.
Here is the whole model, and the three layout decisions that come out of it.
The four requirements
Light 9 or higher, measured at the plant block itself, not the block above it. That distinction matters underground – a torch at head height may light the air and leave the crop at 8.
Farmland, made by hoeing dirt or grass. Crops planted on anything else do not grow.
Water within four blocks horizontally, on the same level as the farmland or one level above, for hydration. Flowing water counts, not just source blocks.
Random ticks, which is the part you cannot influence. Growth is probabilistic per tick, so a field is a rate rather than a timer.
The growth formula, in plain terms
Each crop block has a speed level between 1 and 10, and the chance it advances a stage on a random tick is 1 divided by the floor of 25 over that speed level, plus one. Higher speed level, faster field.
The speed level is built from three contributions:
- The farmland under the plant: 2 points if dry, 4 if hydrated.
- Each of the eight surrounding blocks: 0.25 if it is dry farmland, 0.75 if hydrated.
- The row penalty: if the same crop is diagonally adjacent, or present in both cardinal directions, the total is halved.
Those three lines contain every layout decision worth making.
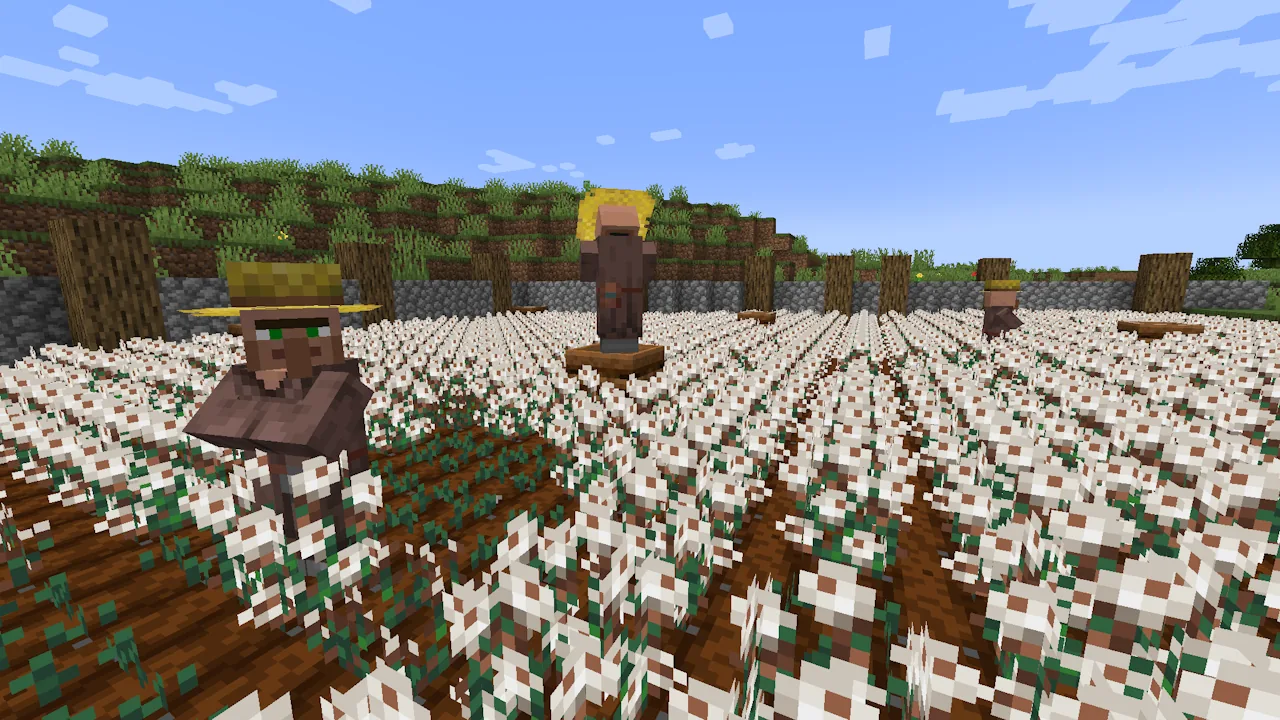
Decision one: hydrate everything
Hydration doubles the base contribution and triples the per-neighbour one. A fully hydrated plot is not marginally faster than a dry one – it is roughly twice the speed level, which compounds through the formula.
One water source hydrates a 9×9 area, because the range is four blocks in every horizontal direction. That means a single block of water in the centre of a 9×9 field covers all 80 remaining squares.
The common mistake is running water channels every few rows, which is unnecessary and wastes growing space. One central source per 9×9 is the correct density.
Decision two: rows, not a checkerboard
The halving penalty triggers when the same crop is diagonally adjacent or present on both opposite sides. Reading that carefully tells you the intended layout: long single-crop rows separated by rows of a different crop, so no plant has a same-type neighbour diagonally.
A solid block of one crop takes the penalty on almost every plant. Alternating rows – wheat, carrots, wheat, carrots – avoids it, and the field looks better as a side effect.
This is the single largest free improvement available to an existing farm, and it costs one afternoon of replanting.
Decision three: surround plants with farmland
Each of the eight neighbours contributes, and only farmland contributes. A plant at the edge of a plot, with grass or stone on three sides, is missing up to three-quarters of its neighbour bonus.
Bigger plots therefore outperform several small ones of the same total area, because a smaller share of plants are on an edge. If you are choosing between four 5×5 plots and one 10×10, take the 10×10.
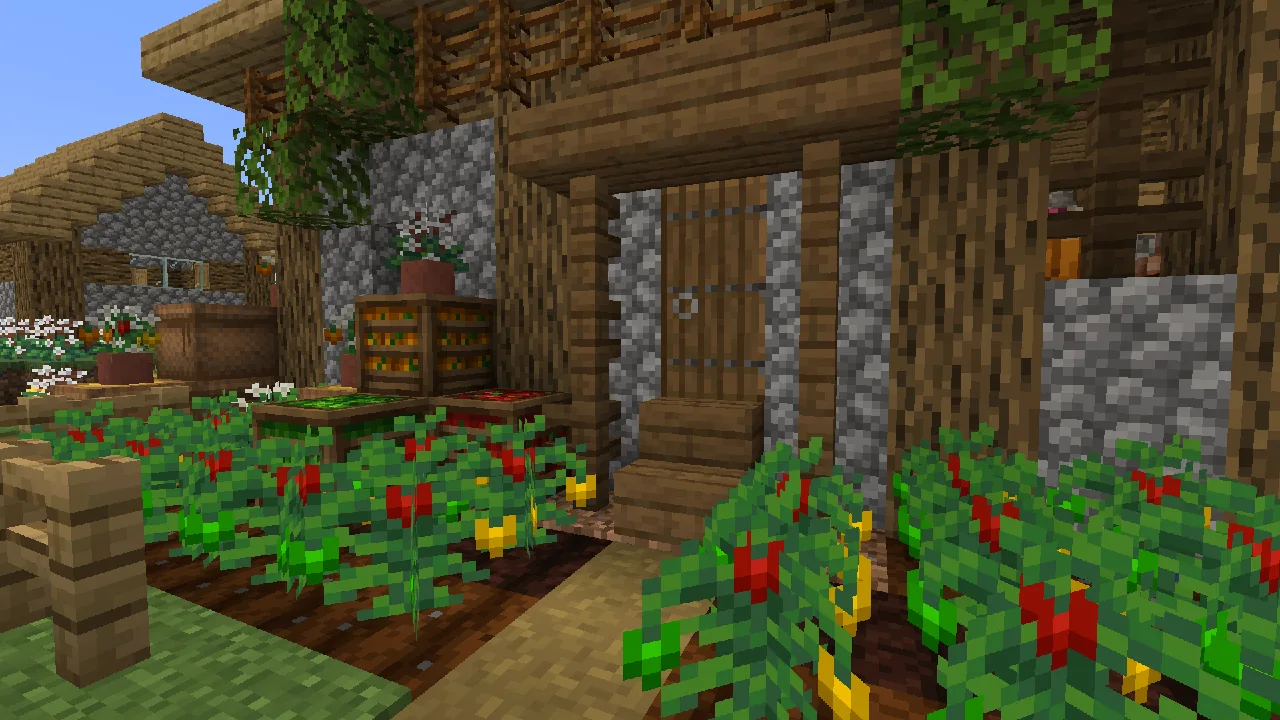
Bone meal, and where it does not work
Bone meal advances a crop 2 to 5 stages, chosen randomly. On wheat, carrots and potatoes that frequently finishes the plant in one or two uses.
It does nothing for sugar cane, cactus or nether wart. Those three ignore the farmland system entirely – sugar cane needs water adjacent to the block beneath it and no light requirement at all, cactus needs sand with no solid blocks beside it, and nether wart grows on soul sand regardless of light or water.
A composter turns surplus crops back into bone meal, which closes the loop on any farm producing more than you eat. That is the practical argument for overbuilding the first field – the excess is not waste, it is fertiliser. Food value per crop is a separate calculation covered in the hunger and saturation guide.
Trampling, and the one-block fix
Farmland reverts to dirt when trampled by something falling on it. It also dries back to dirt over time if there is no water nearby and nothing is planted on it – once a crop is in the ground, the farmland stays farmland even if it dries out.
The fix for trampling is a block the player and mobs cannot land on. Fences or slabs around the perimeter stop things walking in; lighting the area stops things spawning in it, which is the same spawn-proofing problem as everywhere else.
A working layout
- 9×9 plot, one water source dead centre.
- Alternate crop types row by row so nothing has a same-type diagonal neighbour.
- Light the plot to level 9 or above at ground level – torches on the fence posts rather than in the soil.
- Fence or slab the perimeter to stop trampling.
- Composter beside it for the surplus.
That is roughly the theoretical maximum for a manual farm, and it is a small enough footprint to fit beside a base rather than becoming one. If you want it automated afterwards, the observer-based approach in the sugar cane farm guide transfers directly to anything that grows in stages.
Images: Rustic Delight project gallery.