A bridge is the most structurally revealing thing you can build in Minecraft. Every other build can cheat – a house rests on the ground, a tower rests on the ground, a wall rests on the ground. A bridge has to explain how it is staying up, and if it does not, the eye notices immediately even when the viewer cannot say why.
The one mistake
A flat deck of blocks running from one side to the other, floating, with nothing beneath it. It is the fastest way to cross a gap and it looks wrong in every screenshot it appears in.
The reason is simple: there is no visible load path. Weight has to get to the ground somehow, and a plank hanging in mid-air over forty blocks of ravine does not suggest one.
Three ways to hold a bridge up
Every real bridge uses one of three ideas, and each produces a completely different silhouette.
- Beam – the deck rests on piers that go down to the ground or water. Simple, honest, works at any scale if the piers are frequent enough.
- Arch – the span curves down to abutments at each end, and the load travels along the curve. Suits stone. Looks permanent.
- Suspension – the deck hangs from cables strung between towers. Suits long spans and modern builds, and in Minecraft the “cables” are chains, fences or scaffolding.
Pick one before placing a block. Mixing two is what produces bridges that look confused.
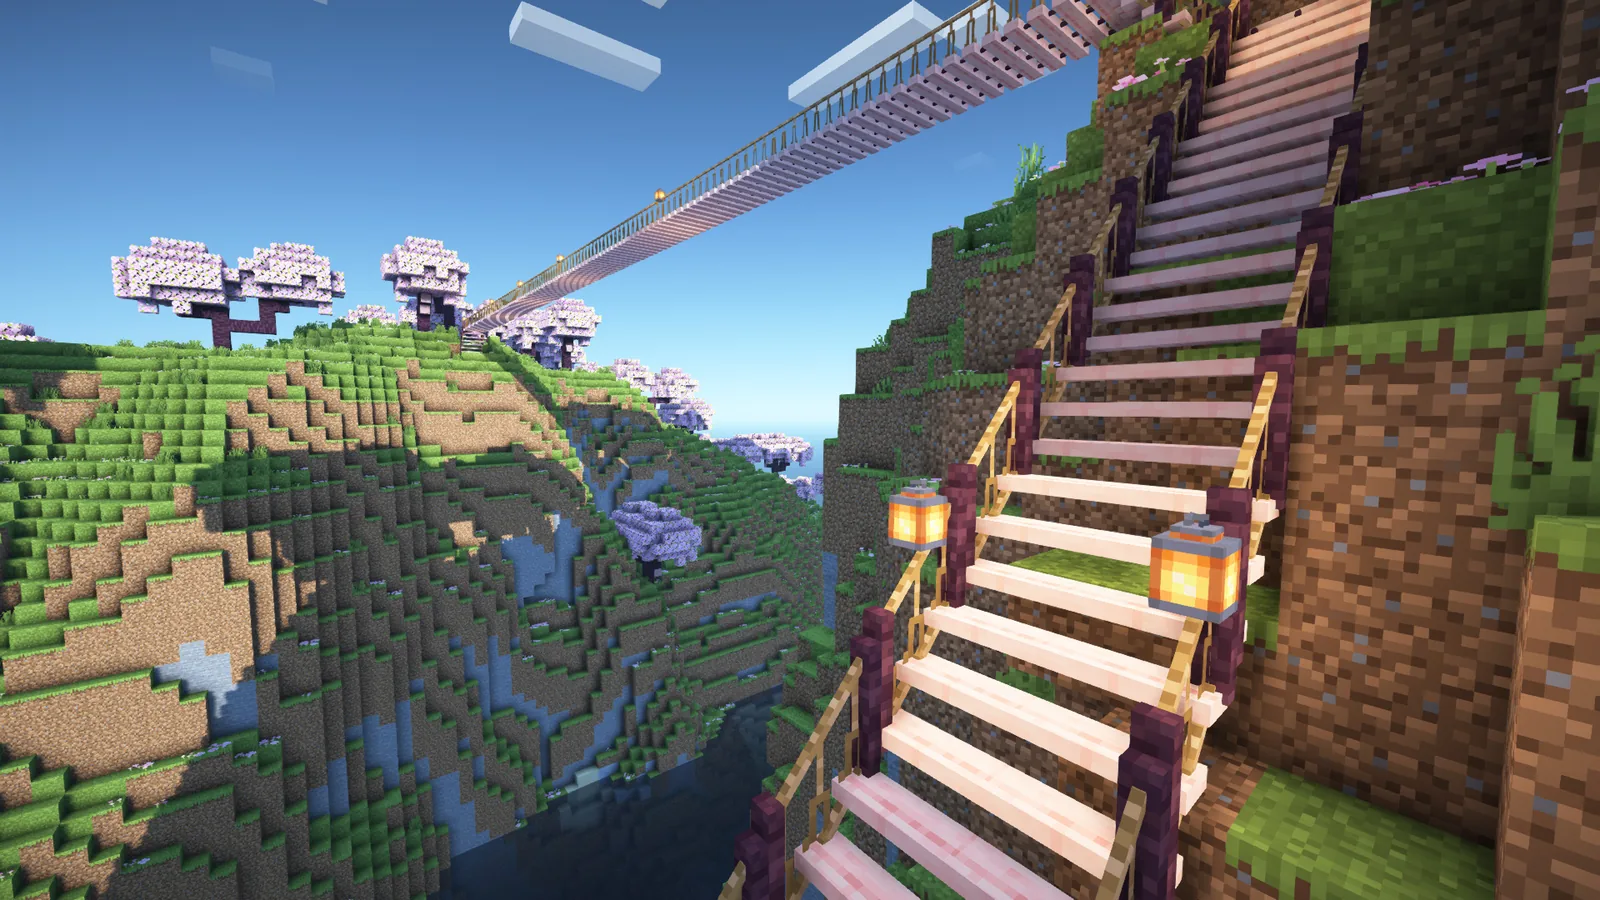
Piers, and how far apart
The most common proportion error is piers too far apart. A deck that spans twenty blocks between supports reads as impossibly thin, because in Minecraft the deck is usually one block deep.
A reliable ratio: the gap between piers should be no more than about eight times the visible depth of the deck. A one-block deck wants supports every six to eight blocks. Want them further apart? Make the deck thicker, or add a truss under it.
Piers also should not be uniform posts. Widen them at the base, step them, or give them a cutwater – the pointed nose that splits current on a river bridge. One block of shaping per pier changes the whole structure.
Building an arch that reads as an arch
- Decide the span, and make it an odd number so there is a centre block.
- Build the curve with stairs on the outer face, blocks behind them.
- Put a contrasting block at the apex – the keystone. One block, and it does more than the rest of the detailing combined.
- Thicken the abutments where the arch meets ground. An arch pushes outward, not just down, and the build should show something resisting that.
- Repeat the arch rather than spanning once. Three modest arches look better than one heroic one.
Stairs are the whole technique here. The same logic that makes a roofline read correctly applies to a curve, and the shapes beyond the basic stair slope covers the vocabulary.
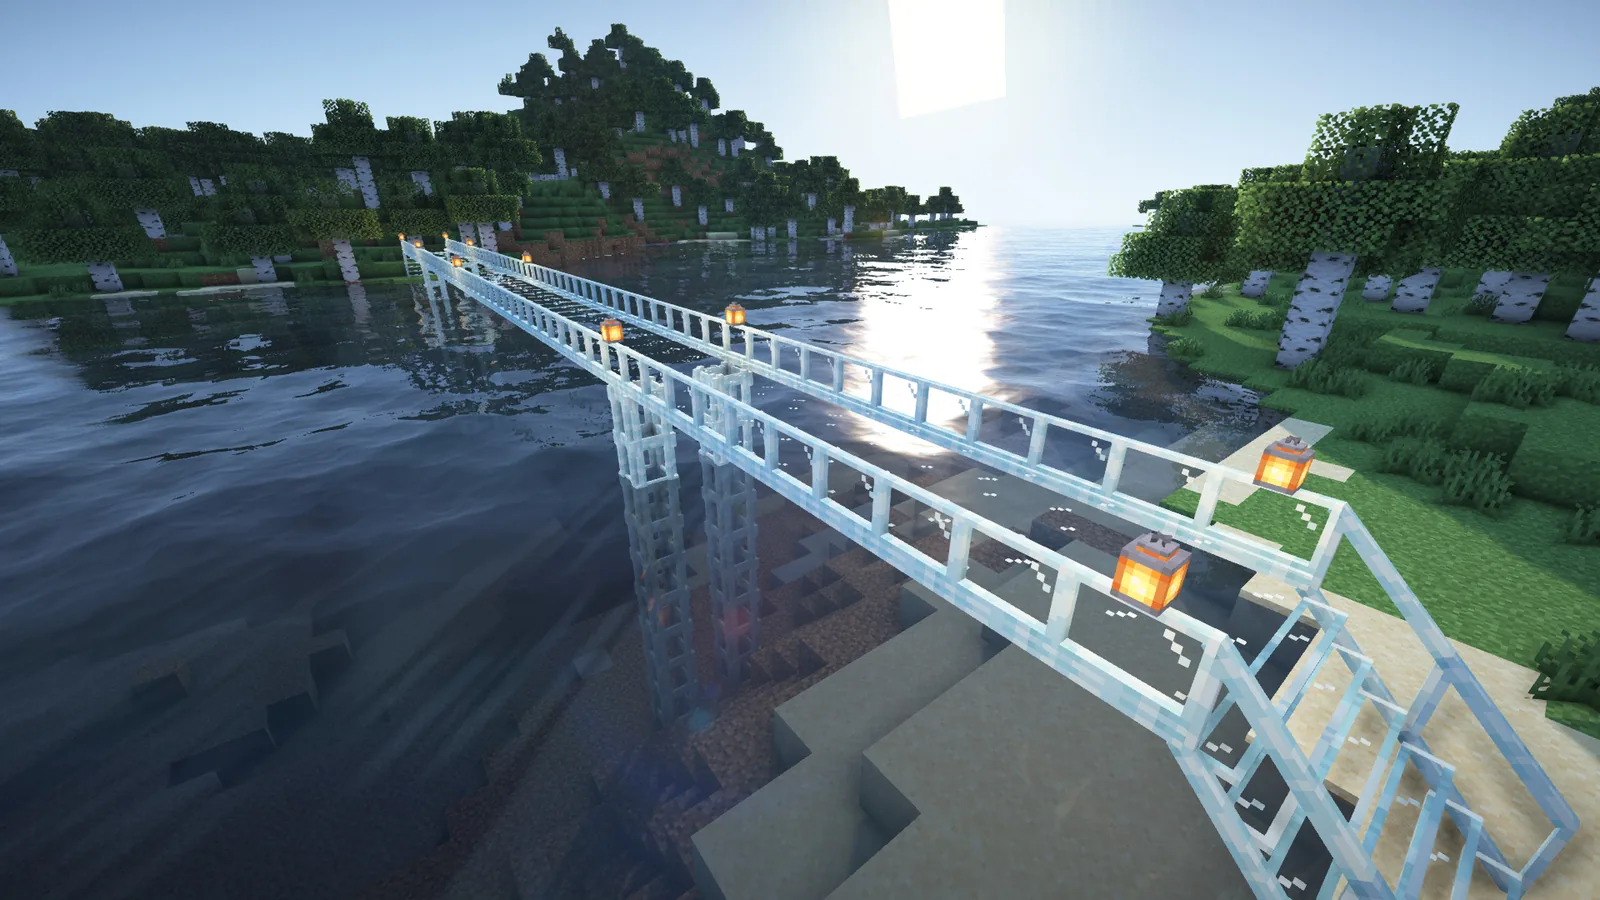
The deck
Three things separate a finished deck from a row of blocks:
- A railing or parapet, at least on one side. Fences, walls, or a low course of blocks with slabs on top.
- A slight camber – one block higher in the middle than at the ends. Real bridges are not flat, and a single block of rise reads as engineering.
- An edge detail – slabs or stairs overhanging the structural line by half a block, which casts a shadow and separates deck from support.
Width matters too. A footbridge is two to three blocks; a road bridge is five to seven. Anything wider needs a reason, like a gatehouse in the middle.
Where it lands
The ends are where most bridges fail, because builders stop when the crossing works. A bridge should not simply stop at ground level – it should arrive at something.
Abutments, a short retaining wall, steps up to the deck, or a path that widens to meet it. That connection to the ground is the same problem as sitting any build into terrain, and the terrain techniques apply directly.
Material by type
- Stone and stone brick – arches, permanence, anything medieval.
- Wood with stone piers – the most common real combination, and it reads as older and cheaper, which is often what a build wants.
- Dark oak with iron bars – industrial.
- Deepslate and chains – suspension, modern, dramatic.
Mixing stone below the waterline with wood above is a detail worth stealing. It is what actual bridges do, because stone survives water and wood does not.
Lighting it
A bridge is a corridor, and corridors accumulate mobs. Lanterns on posts at intervals work, and so do light sources buried under the deck slabs.
Regular spacing is correct here, unlike almost everywhere else – a rhythm of lights along a span reads as infrastructure, and it is one of the few places repetition is the point.
A short checklist
- Pick beam, arch or suspension. Only one.
- Supports no further apart than eight times the deck depth.
- Shape the piers – widen, step, or add a cutwater.
- Railing on at least one side.
- One block of camber.
- Do something at both ends.
Six steps, and a bridge stops looking like a plank and starts looking like it was built by someone who thought about the gap.
Images: Macaw’s Bridges project gallery on Modrinth.