The usual solution to a sloped build site is to flatten it. It works, it takes ten minutes, and it produces a house sitting on a disc of grass that looks like it was dropped there from orbit.
The alternative is to build into the slope, which is harder to plan and better every time. Here is how the good version is structured.
Why the flat pad fails
Terrain has a direction. A hillside runs one way, water runs downhill, and the eye reads all of that before it reads your building.
A flattened pad erases that information in a circle around the build and leaves a visible edge where the artificial ground meets the real ground. Every viewer notices that edge, even if they could not say what they were noticing.
Building into the slope keeps the terrain’s direction intact and gives the structure something to react to. That reaction – what the building does about the ground – is most of what makes a build look designed rather than placed.
Foundations: the part that goes underground
A building on a slope needs its downhill side to reach the ground. If it does not, the floor is floating and no amount of detailing will fix it.
Two approaches. Plinth: a solid base of a heavier material – stone, deepslate, cobbled variants – that follows the slope down and carries the building. Stilts: visible posts down to the ground, with open space underneath. Plinths suit stone and masonry buildings; stilts suit timber ones and anything over water.
The critical detail for both is that the foundation material should be heavier and darker than the wall above it. Buildings get lighter as they go up because that is how weight works, and reversing it looks wrong for reasons most viewers cannot articulate.
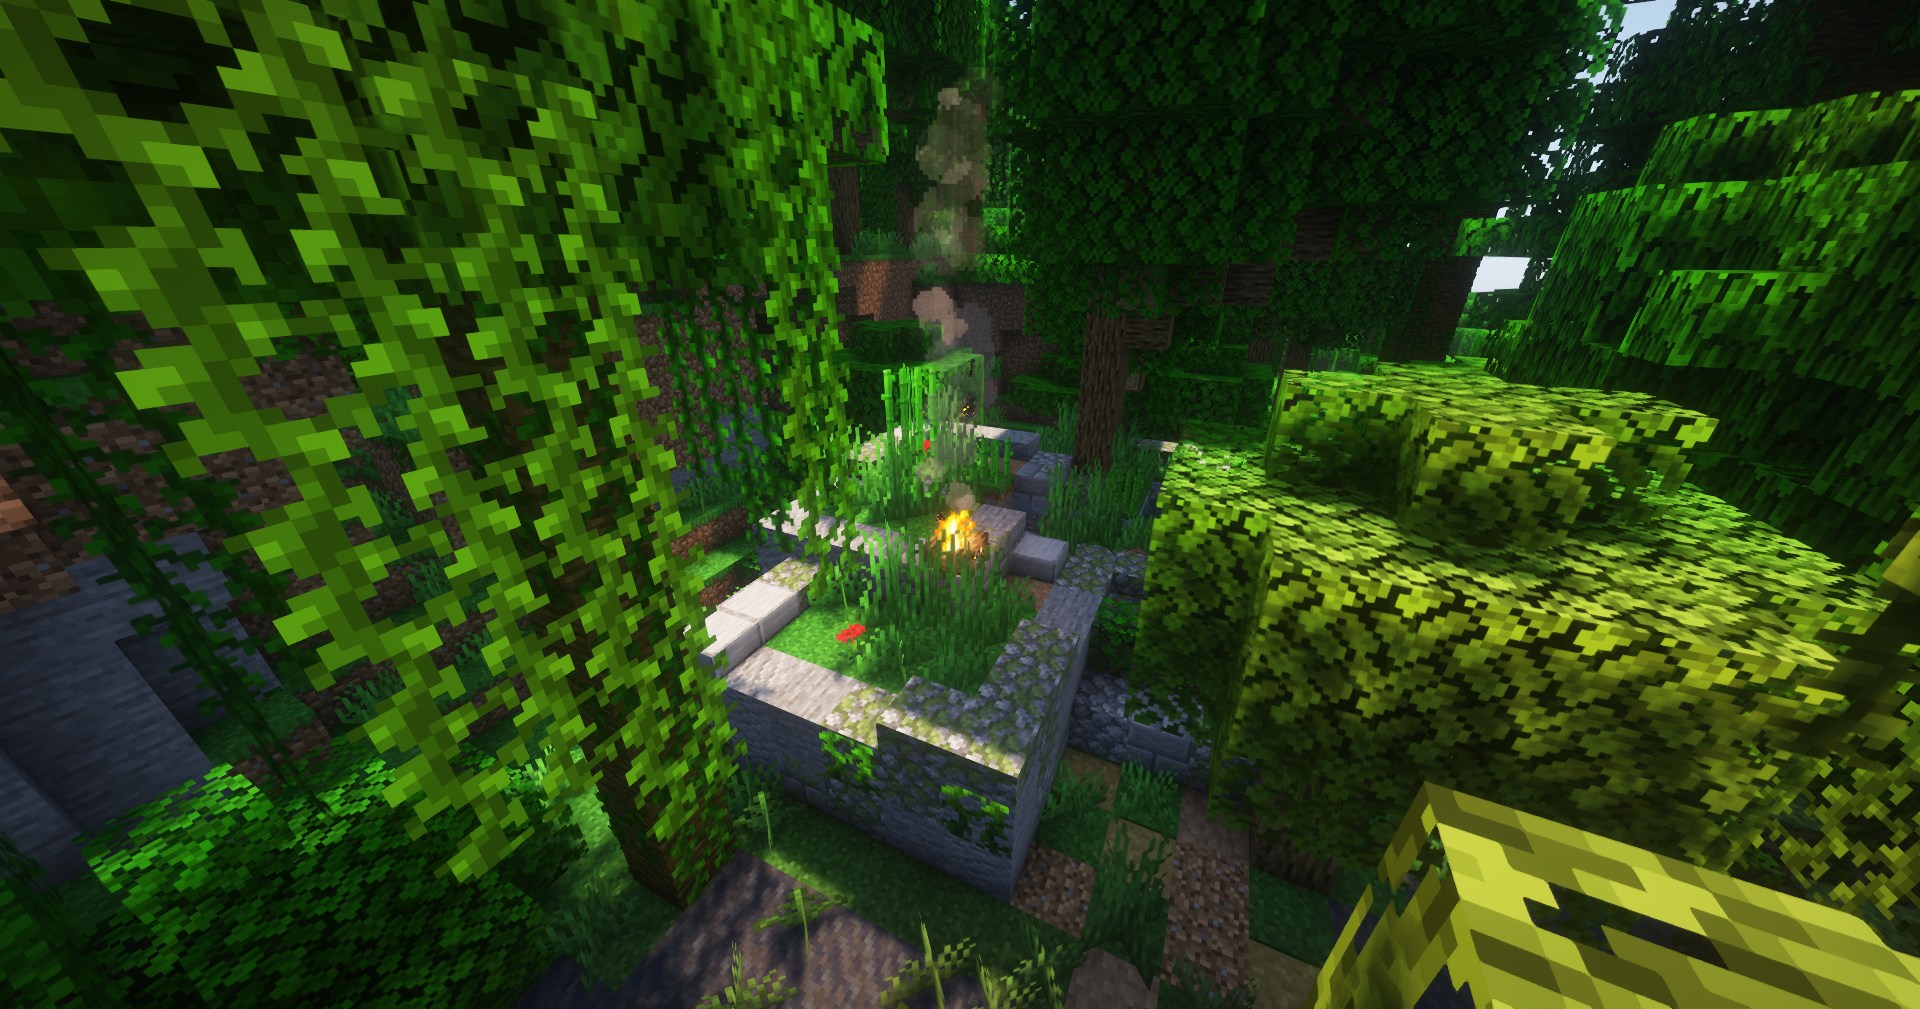
Terracing: cutting the slope into steps
For anything larger than a house, terracing is the technique. Cut the hillside into level platforms, retain each one with a wall, and put the building across the platforms rather than across the slope.
Three rules make terraces read correctly.
- Uneven step heights. Three terraces of four blocks each reads as a staircase. Five, three, then six reads as terrain that was worked.
- Retaining walls in a different material. The wall holding the earth back should not match the building it supports. Stone brick under a plank house, deepslate under stone.
- Something growing out of the joint. Vines, moss, a few blocks of dirt spilling over the top edge. A clean line between wall and earth looks new; a broken one looks settled.
Terracing also solves circulation, because each platform is a place to put something – a garden, a courtyard, a lower outbuilding – and those are the pieces that make a single building look like a site.
Follow the contour, not the grid
The instinct is to align the building to the world axes. On a slope, aligning the long side to the contour line – across the hill rather than up it – almost always looks better, because it minimises the height difference the building has to solve.
When the building must run up the slope, break it into sections at different heights rather than making one long structure with a very tall downhill wall. Two linked volumes at different levels read as a farmhouse that grew. One volume with a six-block plinth reads as a mistake.
This is the same logic as breaking a large build into masses – the slope just gives you the reason to do it.
Roofs on a slope
A roof over a stepped building should step with it. Continuing one roof plane across two different floor levels produces an interior with a ceiling that makes no sense and an exterior where the roof looks detached from the building.
Separate roof volumes, joined where they meet, is the correct answer and the more interesting one – the join is where a valley, a dormer or a chimney goes. Roof shapes beyond stairs covers the forms; the slope decides how many of them you need.
The entrance problem
On a slope the front door is rarely at ground level on all sides, and deciding which side is the front is a real design decision rather than a default.
Uphill entrances feel like arriving at a building set into the hill. Downhill entrances require stairs or a bridge and give you a more dramatic approach. Side entrances along the contour are the easiest and the least interesting.
Whichever you choose, the path has to get there believably. A staircase cut into the terrace, a switchback, a bridge across a gap – not a straight vertical ladder of stairs, which is the most common failure and reads as a ramp rather than a route. The threshold itself follows the normal rules from entrance design.
A practical order of work
- Pick the contour line and orient the building’s long axis along it.
- Mark the highest and lowest ground level the footprint touches. That difference is the problem to solve.
- If it is under about four blocks, one plinth handles it. Over that, terrace.
- Build the retaining walls and terraces first, before any of the building.
- Build the structure on the finished platforms.
- Blend last – moss, gravel, vegetation at every joint between built and natural.
Step four is the one people skip and it is the one that decides the result. A terrace built after the house is a repair; a terrace built before it is a foundation. The surrounding blend is the same work covered in terraforming around a build, just done in the right order.
Images: qrafty’s Jungle Villages project gallery.