Most builders learn roofs, then walls, then interiors, and never learn terrain. Which is why a well-built house frequently looks wrong: it is sitting on ground that was flattened to receive it, and the flat rectangle around it announces that the landscape was in the way.
The problem with flattening
Clearing a level plot is the obvious first step and it removes the one thing that would have made the build look like it belonged – the relationship between the structure and the ground it sits on.
Real buildings sit into terrain. They have foundations that step, retaining walls where the ground falls away, and a level platform that is visibly carved rather than assumed.
Three ways to sit a build in terrain
- Cut in – dig into a slope so the back of the build is underground and the front is exposed. Instant sense of place.
- Build up – a stone plinth or terrace that raises the build above uneven ground, visibly.
- Follow – step the building itself with the slope, in sections at different heights.
The third is the hardest and the best. A building that steps down a hillside reads as considered in a way a flat one never does.
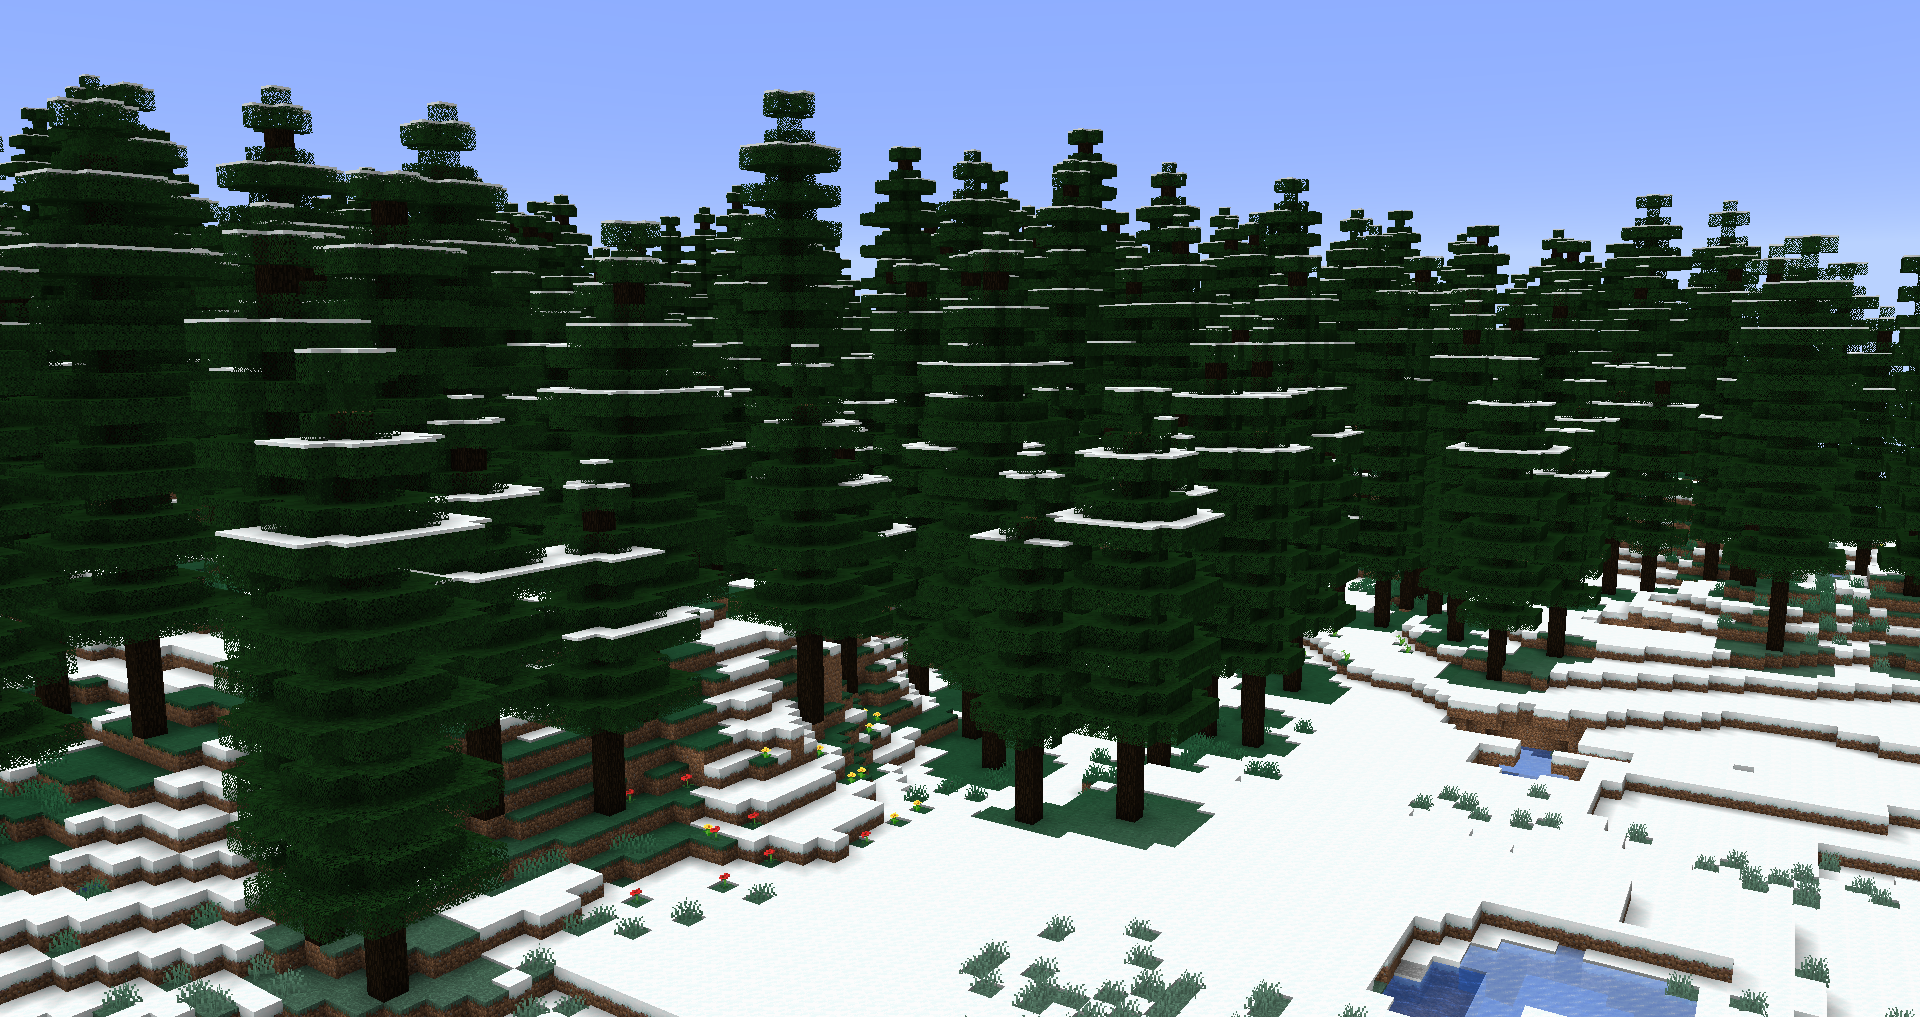
Retaining walls
Wherever you cut into ground, the exposed edge needs a wall. That wall is one of the highest-value details in any build because it explains the level change.
- Cobblestone and stone brick for a rustic look.
- Deepslate for something heavier.
- Mixed stone with mossy patches, which reads as old.
- Wood beams set into the wall face at intervals, for a constructed look.
A plain cut edge with grass hanging over it is the thing to avoid. It looks like a mistake, because it is one.
Blending the edges
The transition between built terrain and natural terrain is where most terraforming fails. A perfect curve meeting rough natural ground is worse than no terraforming at all.
The fix is to extend the work further out than feels necessary, thinning as it goes – so that by the time the modified terrain meets the natural terrain, they are indistinguishable.
Layering the ground
Grass with nothing on it reads as a texture rather than as ground. Coarse dirt, podzol, rooted dirt, moss, gravel and stone patches break it up.
The rule is the same one that governs walls: one dominant material, two or three supporting ones, used in irregular patches rather than in a pattern. That ratio thinking is the core of how to stop your builds looking like a texture pack test, and it applies to ground as much as to architecture.
Paths
A path does two things: it tells you where people walk, and it connects the build to the world. A build with no path looks dropped in.
- Irregular width, not a uniform three blocks.
- Edges that fray into the surrounding ground rather than stopping cleanly.
- Gravel, coarse dirt or dirt path blocks, with the occasional stone.
- Follow the contour rather than going straight up a slope.
Paths that contour are the single most convincing landscaping detail available and cost nothing but patience.
Trees and planting
Vanilla trees are uniform and reveal themselves immediately when planted in rows. Custom trees – built by hand, with varied trunk thickness and asymmetric canopies – are the largest single improvement available to a landscaped area.
Even partial work helps: adding two or three logs to a vanilla trunk and extending a few branches breaks the uniformity enough.
Water features
A stream, a pond with an irregular edge, a waterfall from a cut face. All three anchor a build in a way nothing else does, because water implies the terrain has a shape.
The common mistake is a perfectly rectangular pond. Irregular edges, varying depth, and gravel or clay at the shoreline are what make one read as natural.
Scale
Terraforming has to extend far enough from the build to be convincing. A ten-block halo around a house is not enough; thirty is usually right; a hundred for a large build.
This is the work people underestimate. The terrain around a build is often more blocks than the build itself, and it is the part that decides whether the build looks placed or grown.
What structures do
Generated structures in Minecraft handle this better than most players, because they place onto terrain rather than onto a cleared plot. Villages step with hills; outposts sit on high ground.
There is a lot to take from watching how the game does it, and what village and outpost designs teach builders is largely about exactly this relationship.
Tools that make it bearable
Terraforming by hand is slow, and the usual survival answer is an efficient shovel with Efficiency V and a beacon on Haste. That combination turns a day of moving dirt into an hour.
The alternative is to terraform less and choose the site better. A build placed where the terrain already does most of the work needs almost no modification, and finding that site costs nothing but looking.
Reading terrain before building
- Look for a natural shelf or plateau rather than making one.
- A slope behind and open ground in front is the ideal orientation.
- Water nearby gives you a foreground without building one.
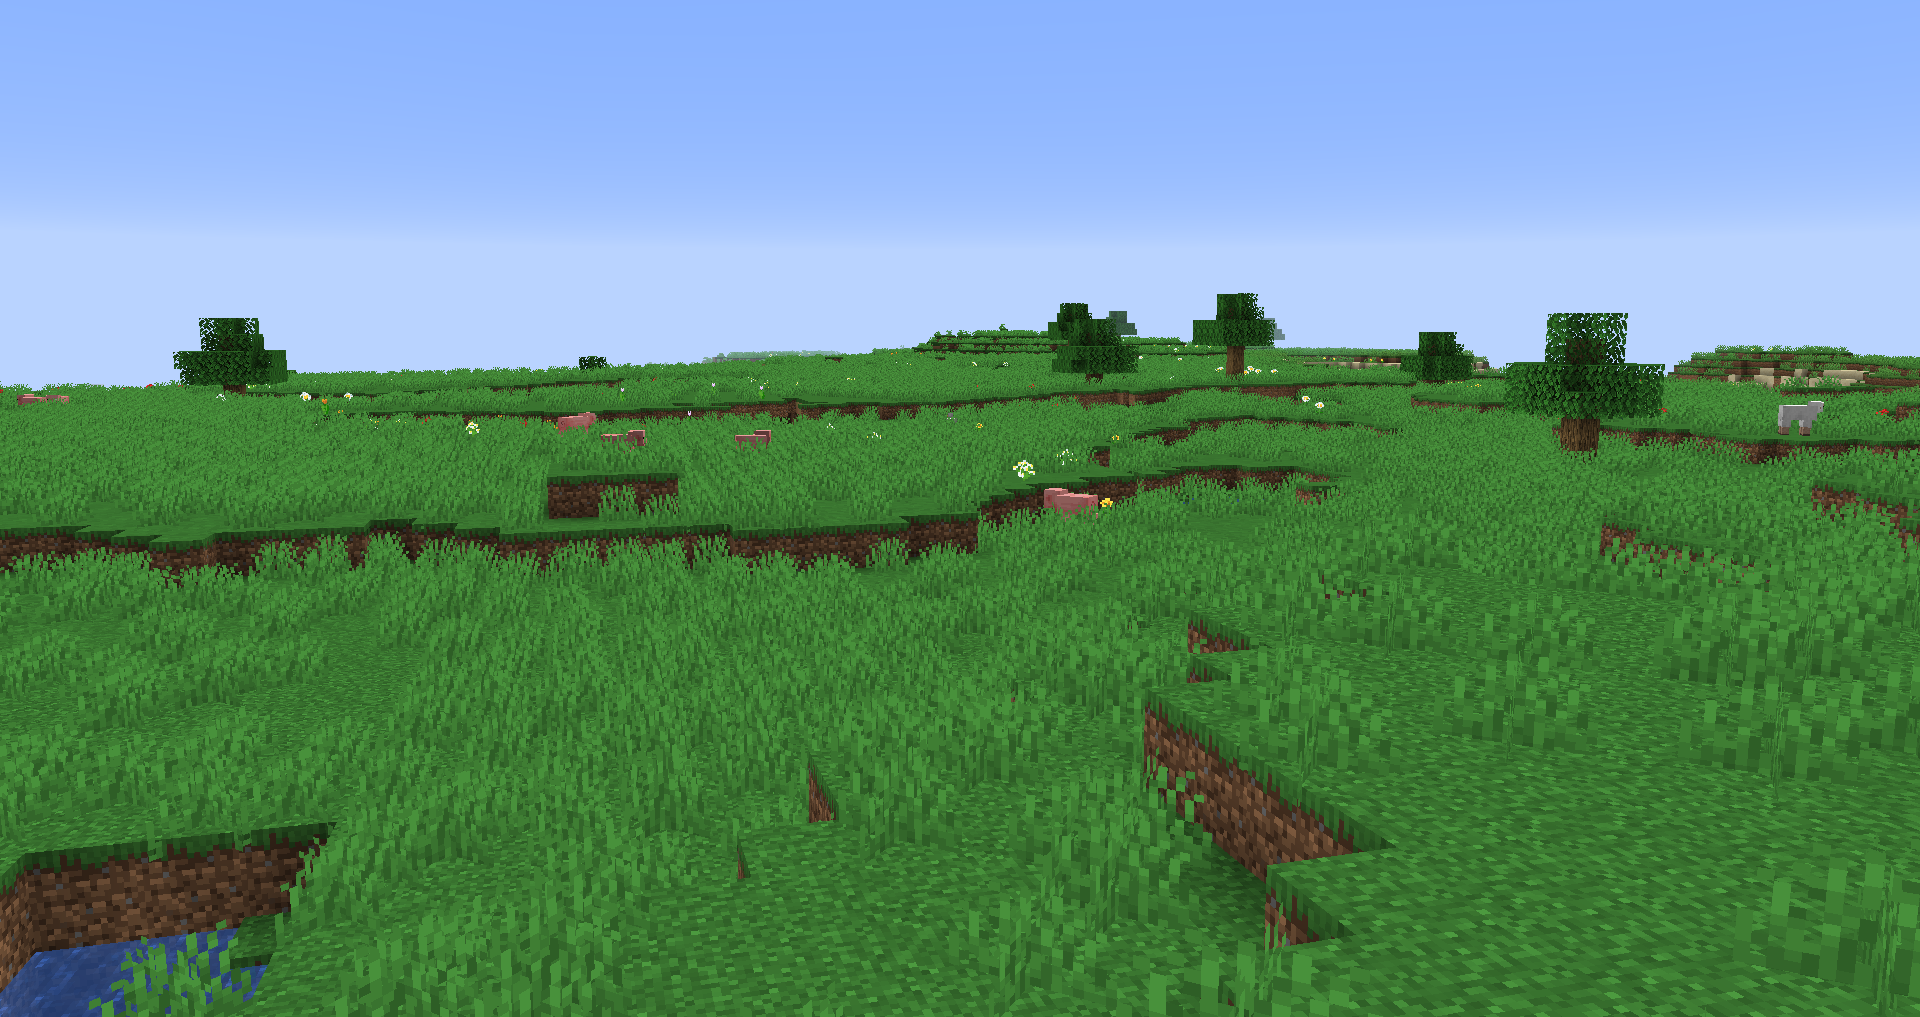
- Avoid perfectly flat plains, which give a build nothing to relate to.
Plains are the hardest biome to build in for exactly this reason, and the reason so many plains builds end up on artificial plinths.
Images: Traverse project gallery on Modrinth.